Tips on how to improve bike photos
The following tips mostly apply if you're shooting a side profile for presentation purposes, focusing on the whole bike and its components,
rather than the scenery or artistic value. To highlight parts, accessories, and other features, feel free to experiment with various viewpoints and angles.
-
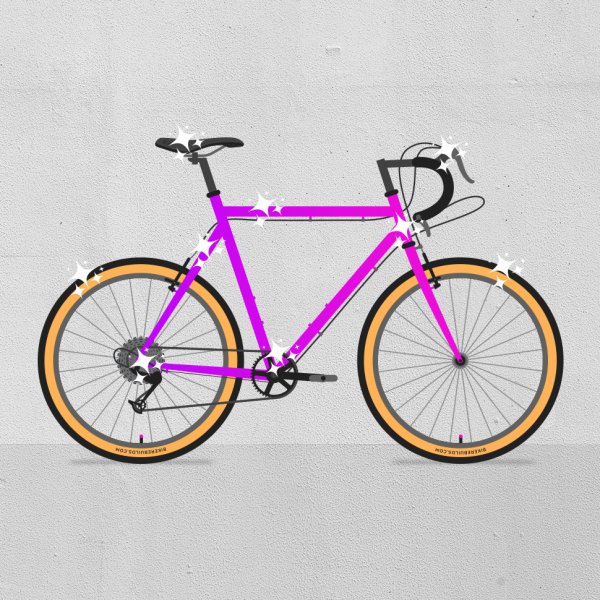 Clean the bike
 -
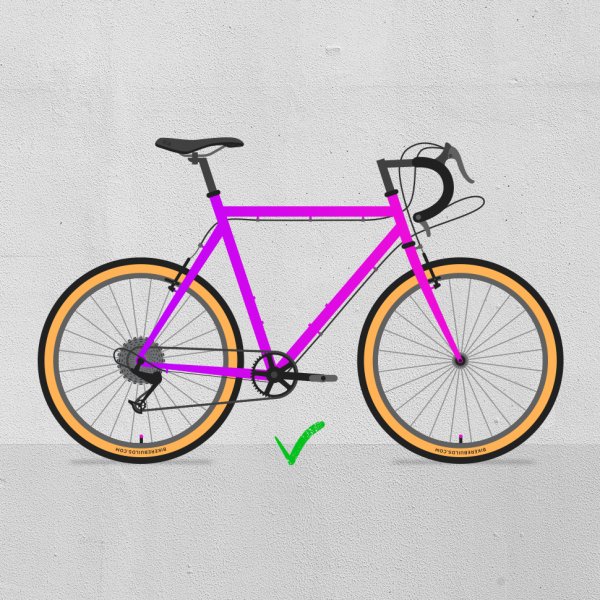 Take photo facing the drive side
 -
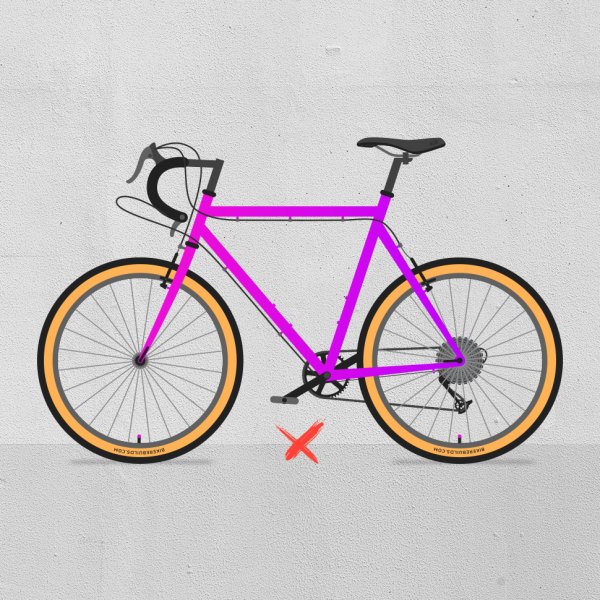 Non-drive side: chainrings, derailleurs & cogs are not visible
 -
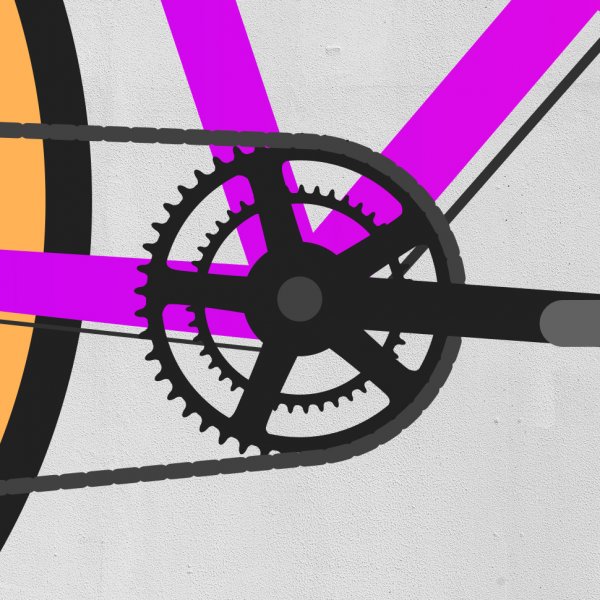 Shift chain to the largest chainring
 -
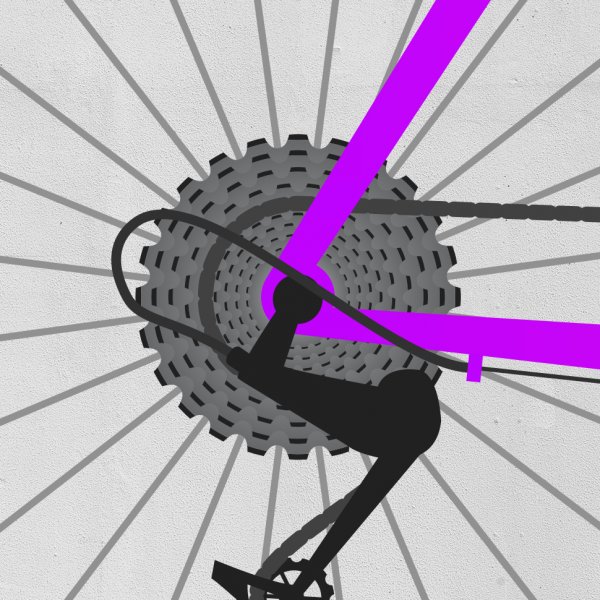 Shift chain to the middle or small cog
 -
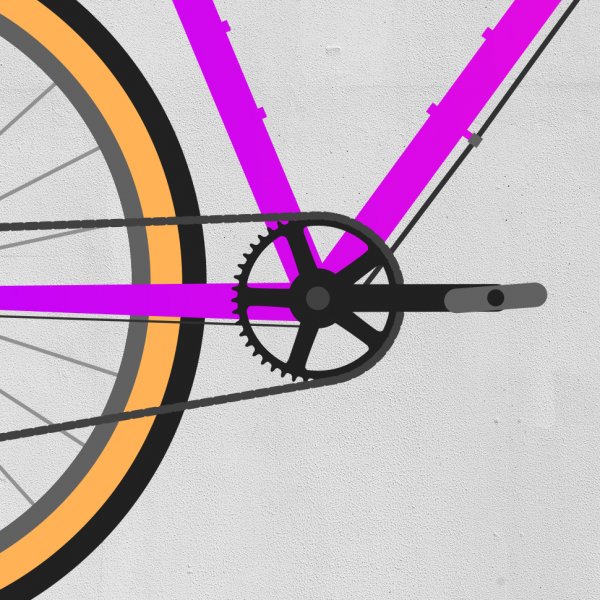 Set crank arm parallel to chainstay or ground
 -
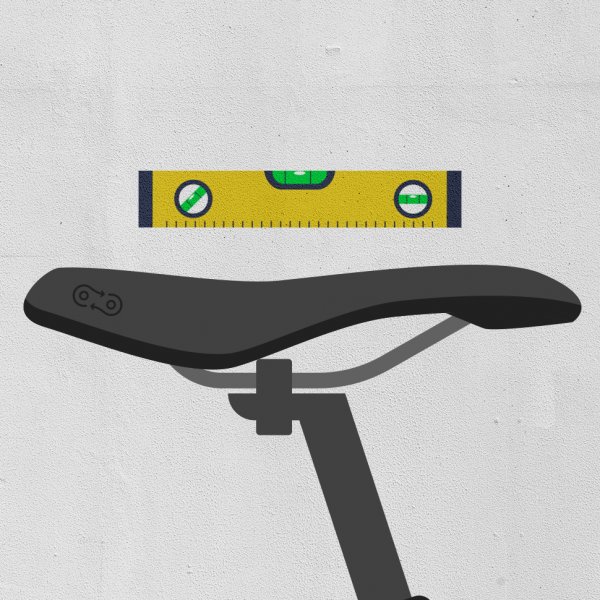 Keep saddle level
 -
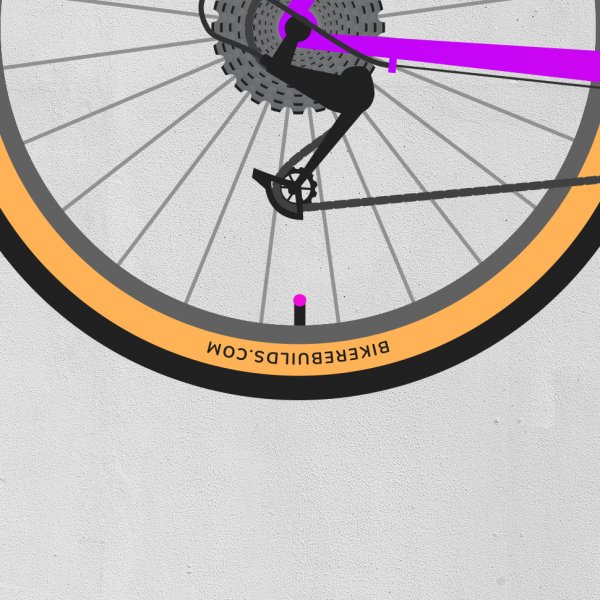 Align tube valves with tire logos at 6 o'clock
 -
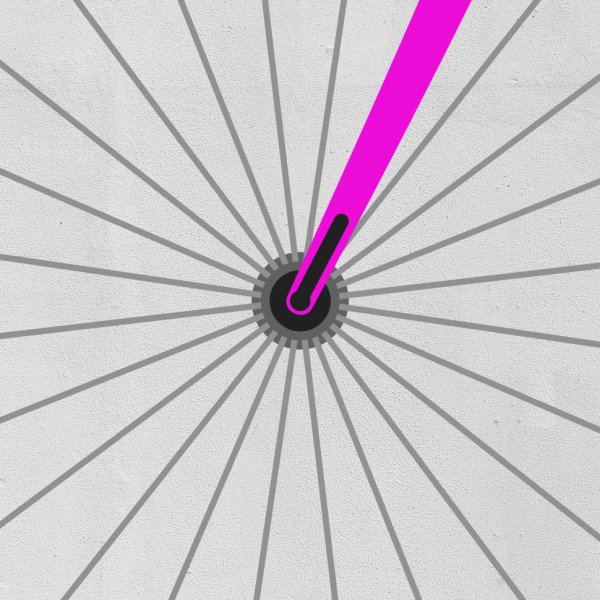 Set front skewer parallel to the fork
 -
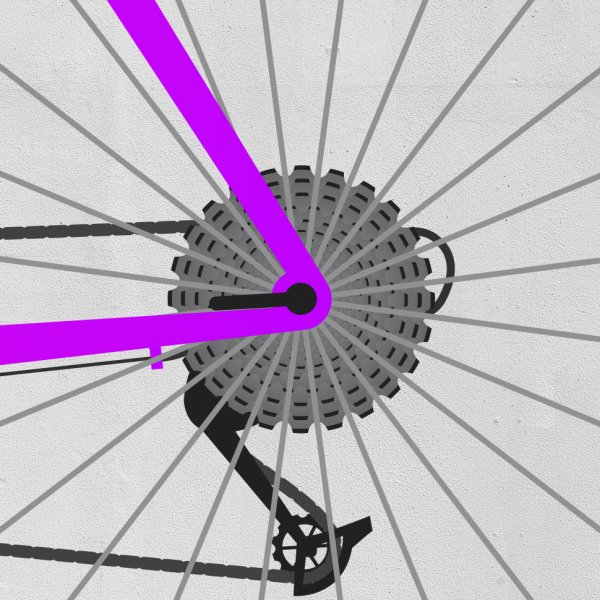 Set rear skewer parallel to the chainstay
 -
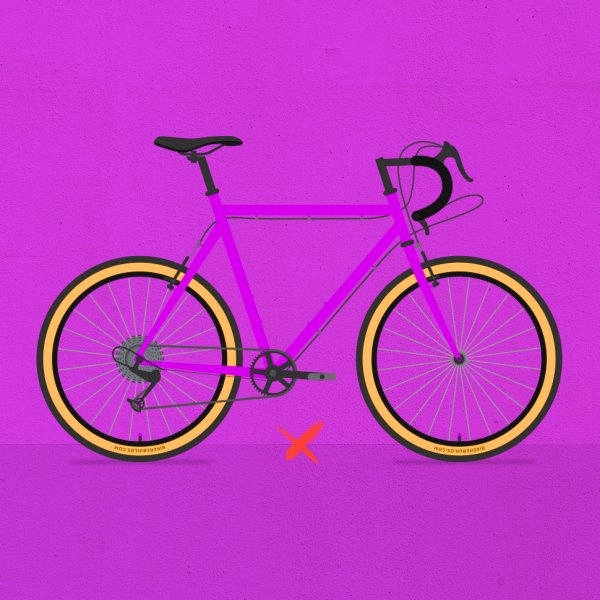 Choose a "contrasting" background
 -
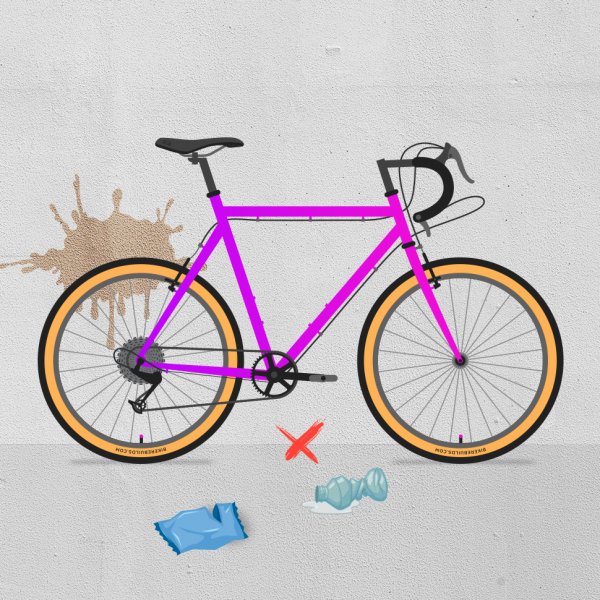 Make sure the background is clean
 -
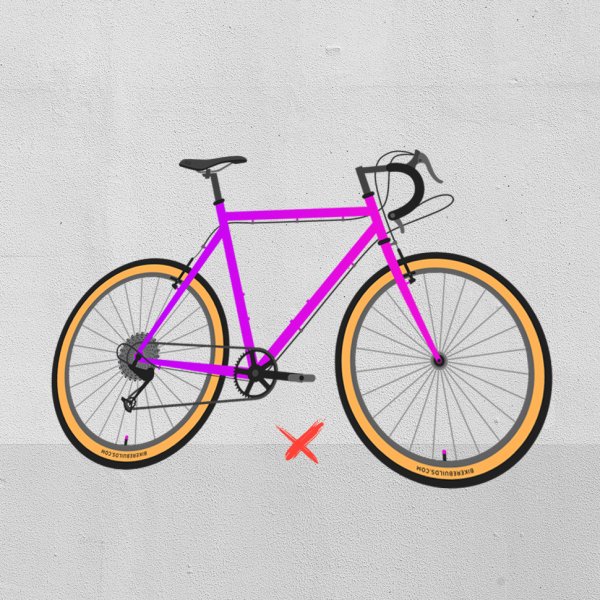 Set bike upright *
 -
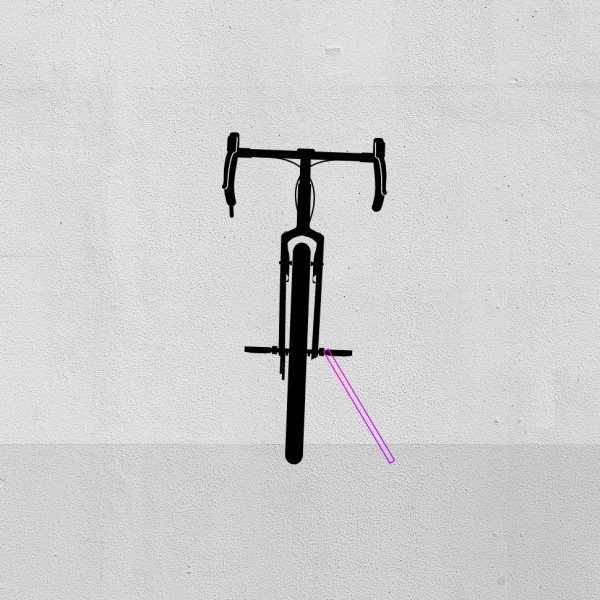 Prop up the bike *
 -
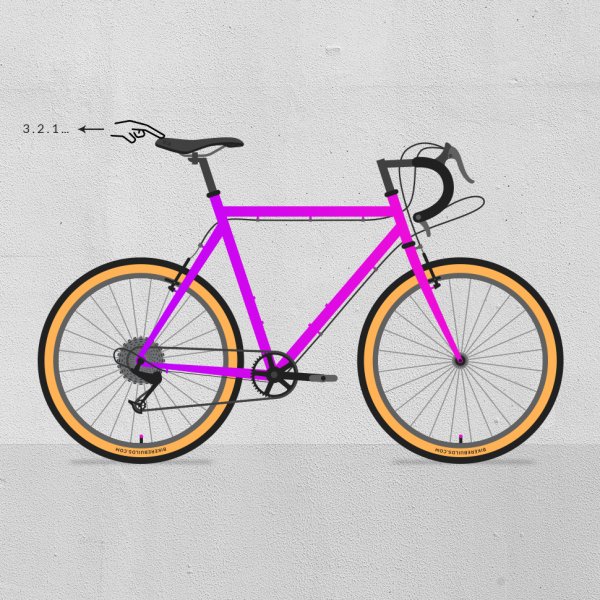 3, 2, 1 ... and release (then catch) **
 -
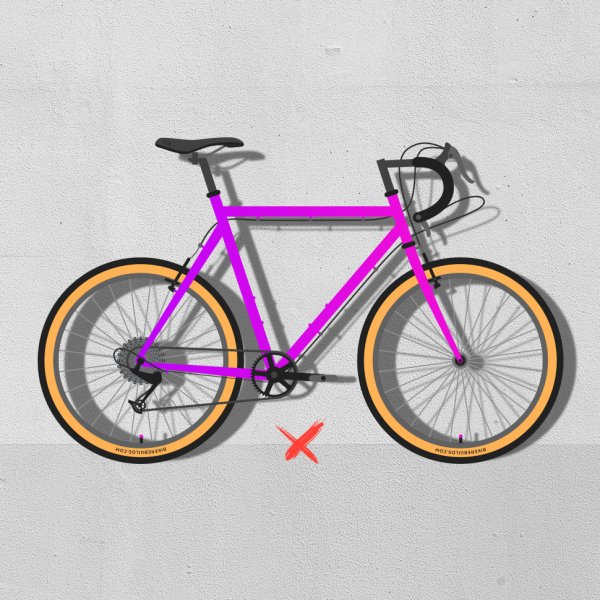 Avoid sharp shadows ***
 -
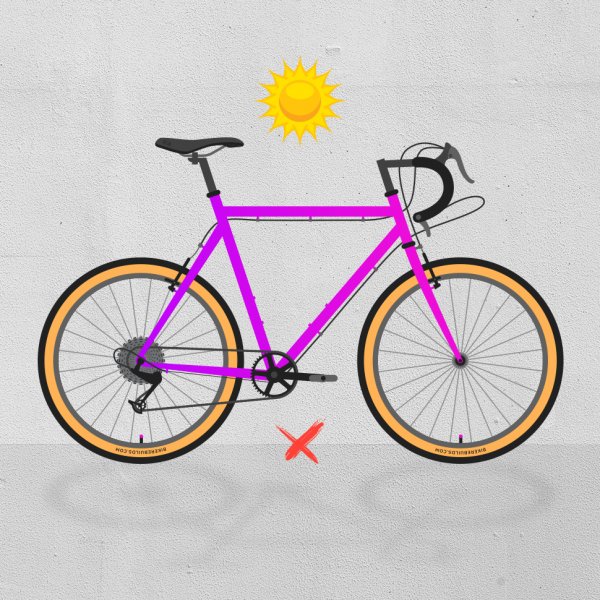 Don't shoot with the sun behind the bike
 -
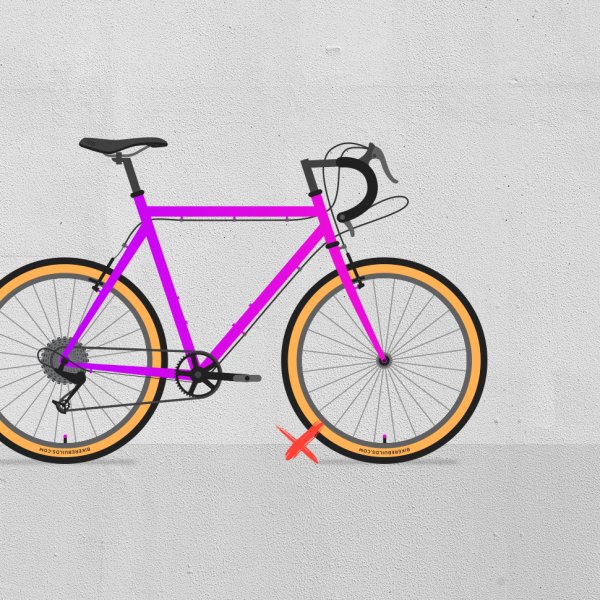 Fit the whole bike in the picture
 -
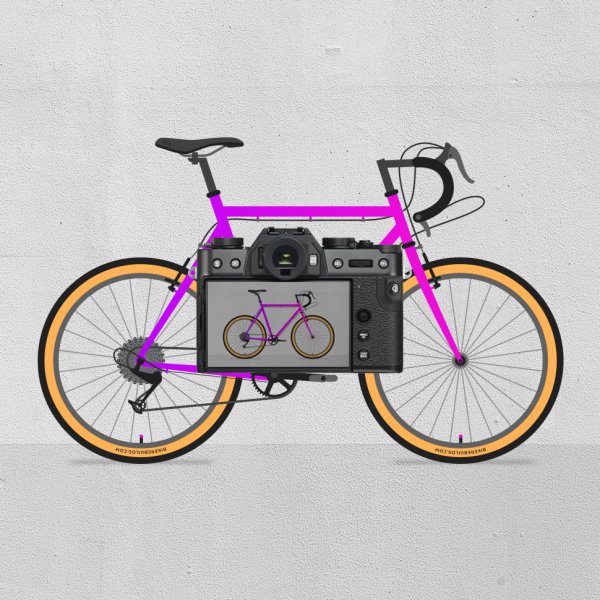 Hold the camera at the bike's level
 -
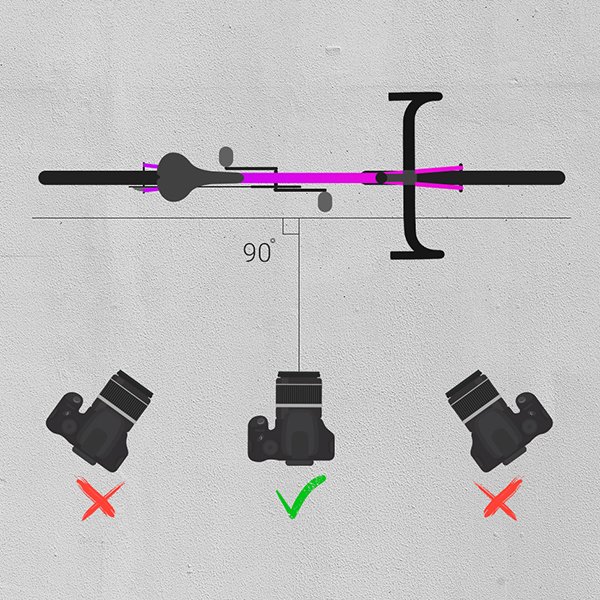 Hold camera at 90° angle (perpendicular) horizontally
 -
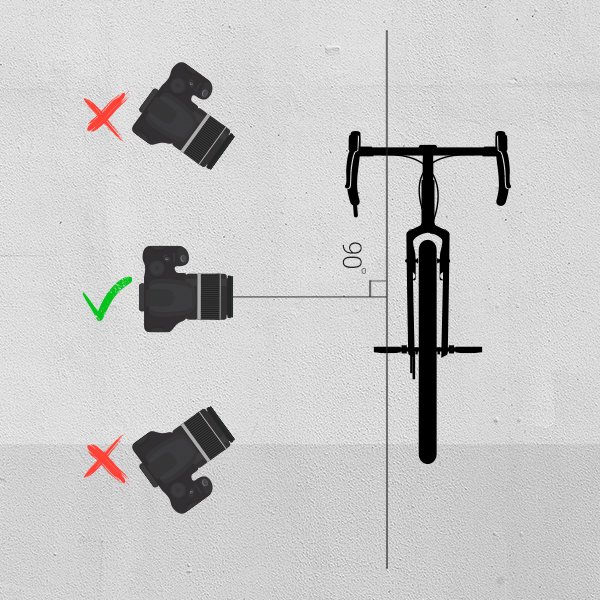 Hold camera at 90° angle (perpendicular) vertically
* Make sure the bike is upright (perpendicular to the ground) to avoid an odd-looking geometry. The easiest way to achieve this is to prop it against a wall, leaning on the end of the handlebar. In a no wall scene, keep the bike upright by placing a stick between the crankbolt and the ground at the right angle.
** Get someone to reach into the shot and hold the bike in position, then after countdown pull their hand away. For a moment the bike will be free-standing and you can snap some quick shots. Make sure the helping person catches the bike before hitting the ground, to avoid any damage.
*** Avoid direct and harsh sunlight as a sharp shadow can be a distraction. The soft light during a cloudy day, dusk, dawn or 'golden hour' can make a big difference.